
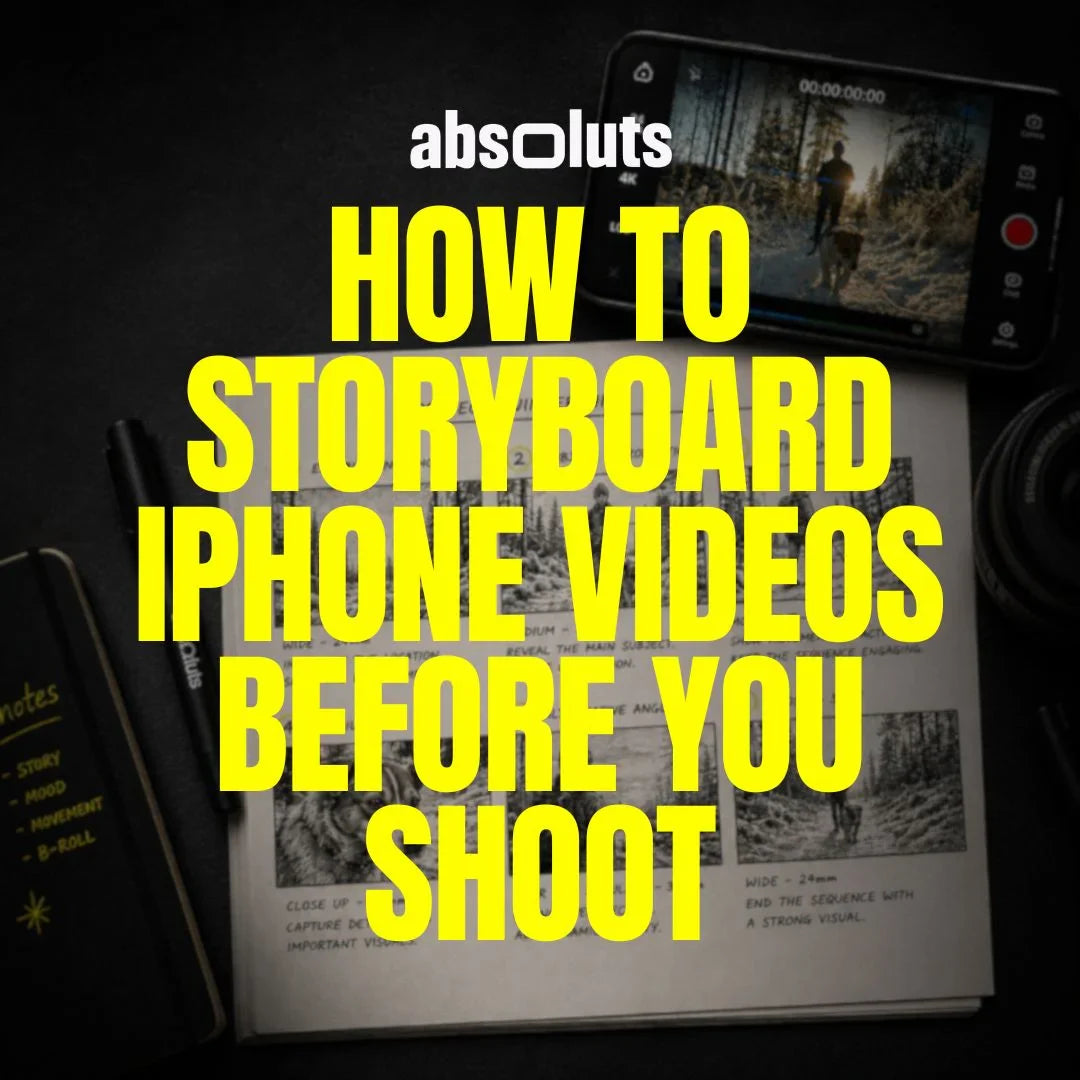
The simple planning workflow that leads to better cinematic results
Many creators spend hours trying to fix problems in the edit that could have been avoided before filming even started. Missing shots, awkward transitions, inconsistent compositions, and weak storytelling are often symptoms of the same issue:
The good news is that you do not need a full production team or professional storyboard artist to create better videos. A simple storyboard can dramatically improve your shooting efficiency and help you capture more cinematic footage with your iPhone.
In this guide, you'll learn a practical storyboarding workflow that works for everything from travel videos and commercials to social media content and short films.
1. Why Most iPhone Videos Feel Unplanned
Many creators start filming the moment they arrive on location. The result is usually:
- Random shots with no structure
- Missing coverage
- Weak visual storytelling
- Difficult editing sessions
- Inconsistent pacing
Without a clear plan, you often discover problems only after importing footage into your editing software. Storyboarding helps solve these issues before the shoot begins. Instead of wondering what to film next, you already know the sequence you're building.
2. What Is a Storyboard?
A storyboard is a visual representation of your video before it is filmed. Think of it as a comic-book version of your project. Each frame represents a shot and helps visualize:
- Composition
- Camera movement
- Subject placement
- Story progression
The goal is not artistic perfection. Simple sketches are more than enough. Even stick figures and arrows can communicate valuable information.
Storyboard vs Shot List
A common mistake is confusing storyboards with shot lists. A shot list tells you what to capture. A storyboard shows how it will look. The two tools work best together.
3. The Simple Six-Frame Method
If you are unsure where to start, use a six-frame storyboard structure. This approach works for most projects.
Frame 1: Establishing Shot
Introduce the location. Show the environment and create context.
Frame 2: Subject Introduction
Reveal the main subject. This could be a person, object, product, or location detail.
Frame 3: Action Shot
Show movement or activity. This keeps the sequence engaging.
Frame 4: Detail Shot
Capture close-ups and important visual details. These shots often become essential B-roll.
Frame 5: Alternative Angle
Change perspective. Use a different focal length, camera height, or movement.
Frame 6: Closing Shot
End the sequence with a strong visual conclusion. This could be:
- A wide shot
- A reveal
- A subject walking away
- A final detail
This simple structure creates a complete visual story with minimal planning effort.

4. Storyboarding for Vertical and Horizontal Video
The storyboard should reflect your final delivery format.
Vertical Video
Vertical content requires:
- Central subject placement
- Simpler compositions
- Strong foreground elements
- Faster pacing
Common platforms include:
- Instagram Reels
- TikTok
- YouTube Shorts
Horizontal Video
Horizontal framing offers:
- Greater environmental storytelling
- More layering opportunities
- Better use of leading lines
- Cinematic compositions
This format is often preferred for:
- Commercial work
- Travel films
- Documentary content
- YouTube videos
Planning with the correct aspect ratio in mind prevents framing problems later.
5. Plan Camera Movement Before You Arrive
Many creators improvise movement on location. Professional filmmakers often do the opposite. When storyboarding, indicate movement using arrows. Examples:
- Push-in
- Pull-back
- Tracking shot
- Pan
- Reveal
This helps you understand how shots connect before filming begins. It also reduces wasted time on set.
6. Plan the Mood, Not Just the Shots
Storyboards should communicate emotion as well as composition. Ask yourself:
- Is the scene warm or cold?
- Energetic or calm?
- Clean or nostalgic?
- Commercial or documentary?
Making these decisions early improves consistency throughout the project. For example:
- Kodak Vision 3 LUT works well for warm, cinematic storytelling and travel content.
- Fujifilm 3513 LUT is ideal for softer, organic-looking visuals with a more subtle film aesthetic.
Thinking about the final look before shooting often leads to better decisions regarding lighting, composition, and location selection.
7. Create Storyboards Directly on Your iPhone
You do not need specialized software. Simple tools work perfectly. Options include:
- Apple Notes
- Freeform
- GoodNotes
- Procreate
Some creators prefer taking location photos and drawing directly over them. Others still use pen and paper. The specific tool matters far less than the planning process itself.
8. Leave Room for Discovery
A storyboard is a guide, not a rigid set of rules. One of the biggest mistakes is planning every detail so precisely that there is no room for creativity. When you arrive on location, you may discover:
- Better lighting
- Better angles
- Unexpected moments
- Stronger compositions
Use the storyboard as a foundation, but stay flexible. Some of the best shots are often the ones you did not anticipate.

9. Common Storyboarding Mistakes
Avoid these common issues:
Planning Only Wide Shots
Include:
- Wide shots
- Medium shots
- Close-ups
- Detail shots
Variety creates stronger edits.
Ignoring Movement
A storyboard should communicate motion, not just static compositions. Add arrows and notes whenever possible.
Forgetting B-Roll
Many creators storyboard only primary shots. B-roll should also be planned.
Think about:
- Details
- Textures
- Transitions
- Environmental coverage
Overcomplicating the Process
Your storyboard does not need to look professional. Its purpose is clarity, not artistic perfection.
Final Thoughts
Storyboarding is one of the simplest ways to improve your videos before you even start shooting. It helps you:
- Capture better coverage
- Shoot more efficiently
- Improve storytelling
- Reduce editing problems
- Create more cinematic results
The goal is not to eliminate spontaneity. The goal is to give yourself a clear roadmap so you can focus on creativity when the camera starts rolling. A few minutes of planning before the shoot can save hours of frustration afterward.


Leave a comment
All comments are moderated before being published.
This site is protected by hCaptcha and the hCaptcha Privacy Policy and Terms of Service apply.