
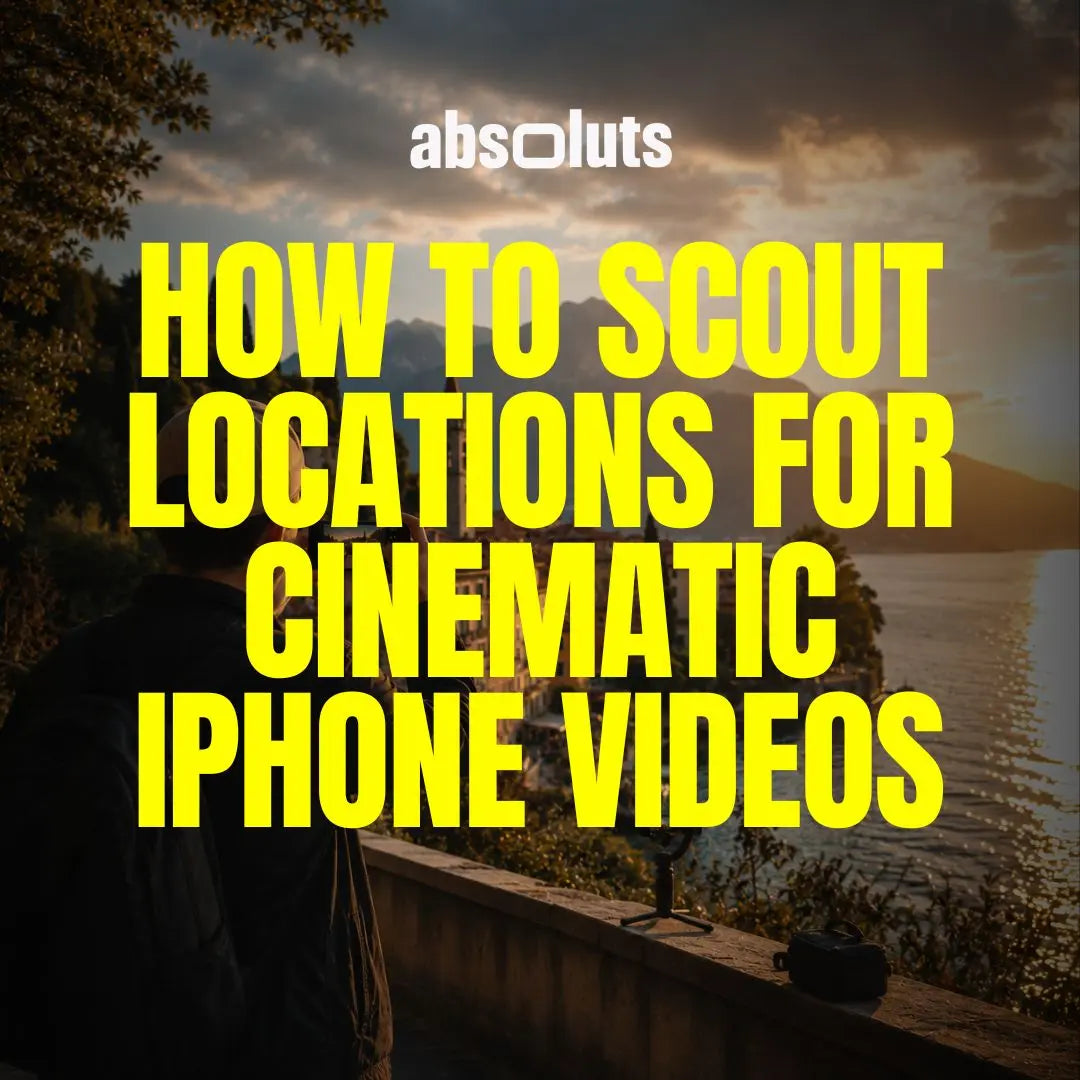
The filmmaker’s guide to finding better shots before filming begins
Many creators spend countless hours searching for the perfect LUT, camera settings, or editing workflow. While these elements matter, one of the biggest contributors to cinematic footage is often overlooked: The location itself.
A strong location can elevate even simple shots, while a weak location can make the best camera setup feel ordinary. Professional filmmakers understand that great videos often begin long before the camera starts recording.
In this guide, you'll learn how to scout locations effectively and create stronger, more cinematic iPhone videos.
1. Why Great Videos Start Before the Camera Comes Out
Many people assume cinematic footage comes from expensive equipment, advanced color grading, professional lenses, complex editing. In reality, strong visuals are usually built on three foundations: location, light, composition.
A carefully chosen location provides natural production value before any editing takes place. When a location already contains interesting shapes, textures, depth, and lighting opportunities, every shot becomes easier to make look cinematic.
2. What Makes a Location Cinematic?
Not every visually attractive location translates well on camera. When scouting, look for specific characteristics that help create stronger images.
Depth
One of the easiest ways to improve footage is finding locations that naturally create separation. Look for foreground elements, midground subjects, background detail. Depth helps transform flat-looking footage into more immersive images.
Leading Lines
Leading lines guide the viewer's attention through the frame. Examples include Roads, bridges, hallways, railings, paths. These elements naturally improve composition and visual flow.
Layering
Strong locations often contain multiple visual layers. For example: subject in the foreground, buildings in the middle distance, mountains or sky in the background. Layering helps create scale and realism.
Texture
Texture adds character to footage. Interesting textures include:
- Stone
- Concrete
- Wood
- Brick
- Vegetation
- Water
These surfaces often respond beautifully to light and color grading.

3. Scout at the Right Time of Day
A location can look completely different depending on when you visit it. This is one of the most important aspects of location scouting.
Midday
Midday sunlight often creates: harsh shadows, high contrast, unflattering skin tones, difficult exposure conditions. While usable, it is often the least cinematic time of day.
Golden Hour
Golden hour remains one of the most popular choices for filmmakers. Benefits include: soft light, warm tones, natural contrast, beautiful highlights. This light helps create depth and atmosphere with minimal effort.
Blue Hour
Blue hour occurs shortly before sunrise or after sunset.
It creates: cooler color tones, softer contrast, cinematic mood, natural urban lighting opportunities.
Many commercial and travel filmmakers use blue hour extensively.
4. Use Your iPhone During the Scout
You do not need a dedicated scouting camera. Your iPhone is already the perfect scouting tool.
During location visits:
- Take reference photos
- Record short clips
- Test compositions
- Save camera positions
- Evaluate backgrounds
Create a dedicated album for each project. This makes it easier to build shot lists and storyboards later.
5. Study the Direction of Light
The location itself is only half of the equation. The direction of light is equally important.
When scouting, determine:
- Where the sun rises
- Where the sun sets
- Which areas receive direct sunlight
- Which areas remain shaded
Understanding light direction allows you to plan shooting schedules more effectively.
Many filmmakers use tools such as: Sun Surveyor, Sun Seeker, PhotoPills.
These apps help predict lighting conditions before the shoot.
6. Evaluate the Location's Color Palette
Every location already contains its own visual identity. Some locations naturally support certain cinematic looks better than others.
Urban Locations
Urban environments often feature: concrete, glass, steel, neutral colors. These locations pair well with more contrast-driven grades.
For example: the iRED Mode LUT pack can help enhance the bold, commercial feel of modern city environments.
Travel and Lifestyle Locations
Locations such as coastal towns, countryside landscapes, historic districts often benefit from warmer tones.
For example: Kodak Vision 3 LUT can complement these environments with a film-inspired aesthetic.
Choosing a look that matches the location often creates more cohesive results than trying to force a style that clashes with the environment.
7. Build a Shot Plan for Every Location
Professional filmmakers rarely arrive at a location without a rough plan. A simple framework can dramatically improve efficiency.
For every location, identify:
Establishing Shot
Show the environment.
Medium Shot
Introduce the subject within the location.
Detail Shot
Capture textures, objects, and small actions.
Movement Shot
Add motion and energy.
Exit Shot
Create a natural ending for the sequence.
This approach ensures you leave each location with enough coverage to build a complete scene.
8. Consider Practical Challenges
A location may look amazing in photos but create problems during production.
Pay attention to:
- Traffic
- Pedestrian activity
- Construction noise
- Wind
- Accessibility
- Safety
Professional scouting includes both creative and logistical evaluation.
9. Common Location Scouting Mistakes
Avoid these common errors:
Visiting Only Once
Conditions change throughout the day. Whenever possible, visit multiple times.
Ignoring Light Direction
A beautiful location with bad light can become difficult to shoot.
Focusing Only on Wide Shots
Look for details, textures, and close-up opportunities.
Forgetting Backgrounds
Always check what appears behind your subject. Distracting elements can ruin an otherwise strong composition.
Not Testing Camera Angles
Walk around. Change height. Try different perspectives. Many of the best compositions are discovered through experimentation.

Final Thoughts
Great cinematography starts long before the record button is pressed.
The best filmmakers understand that location scouting is one of the most important stages of production.
When you learn to evaluate:
- Depth
- Light
- Texture
- Composition
- Color
- Practical logistics
you dramatically improve the quality of your footage before editing even begins. The next time you plan a project, spend a little more time scouting.
You may discover that the biggest upgrade to your filmmaking is not a new camera or a new LUT, but a better location.




Leave a comment
All comments are moderated before being published.
This site is protected by hCaptcha and the hCaptcha Privacy Policy and Terms of Service apply.