
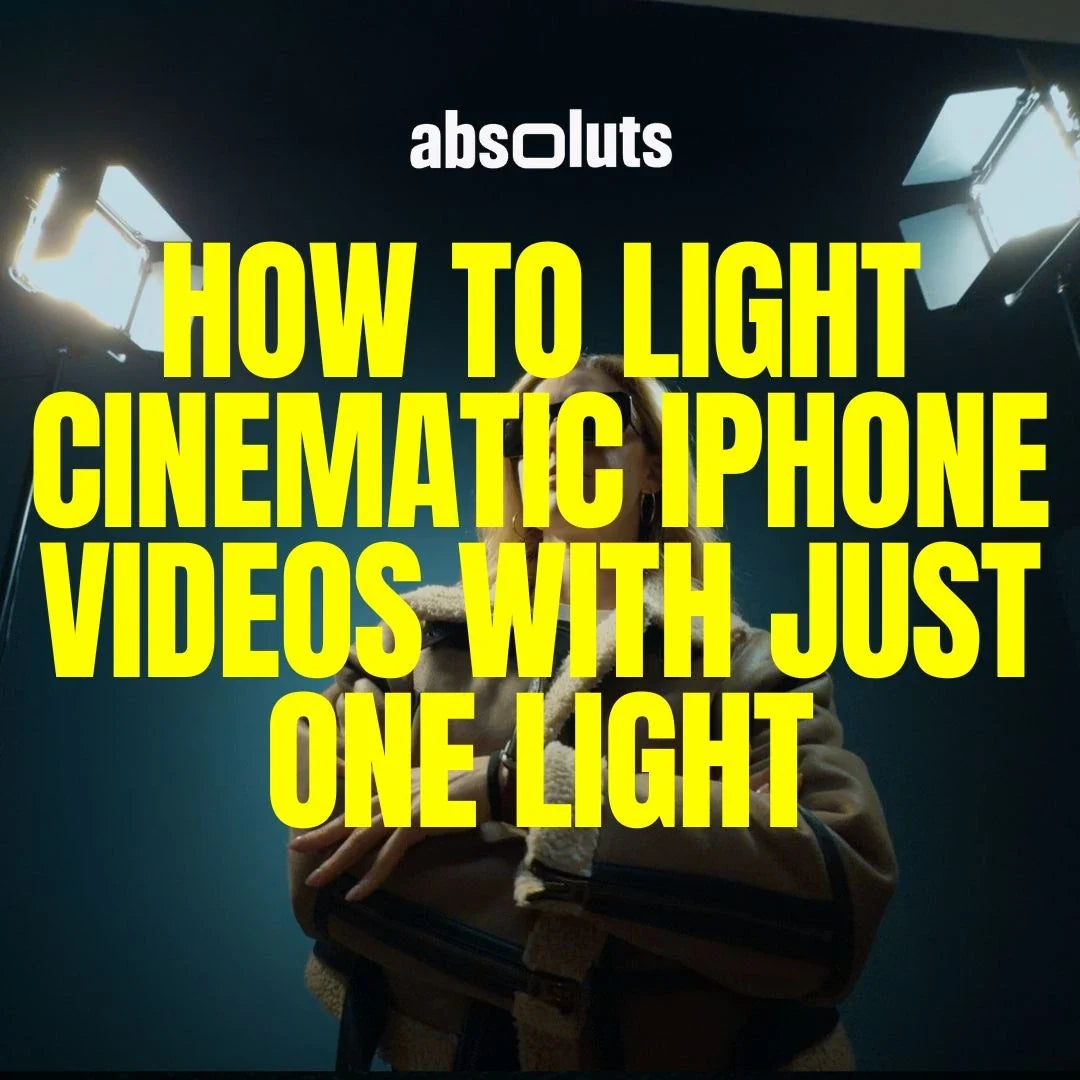
Create professional-looking interviews, portraits, products, and cinematic scenes with a simple lighting setup
You do not need a complicated lighting setup to create cinematic iPhone footage.
One well-positioned light can already give you direction, contrast, depth, facial shape, and mood. In fact, learning how to control a single source is often more useful than adding multiple lights without understanding what each one contributes.
The key is knowing how position, size, distance, and the surrounding environment affect the image.
Here is how to build better cinematic lighting with just one light.
1. Start with the Light at 45 Degrees
If you are unsure where to position your light, start approximately 45 degrees to one side of your subject and slightly above eye level. This creates a natural balance between light and shadow.
One side of the face receives more illumination while the opposite side gradually becomes darker, creating significantly more shape than placing the light directly beside the camera.
From there, experiment with the position:
- Move toward the camera for a softer, flatter result.
- Move farther to the side for more contrast and drama.
- Raise the light slightly for more natural facial shadows.
Small adjustments can completely change the mood of the image.

2. Think About Size, Not Just Power
A powerful light does not automatically produce beautiful illumination. The apparent size of the source relative to your subject has a major influence on its character.
A larger source generally creates softer shadows and smoother transitions across the face. A smaller source creates harder, more defined shadows.
This is why diffusion can make such a dramatic difference. Instead of pointing a small LED directly at someone, try passing it through diffusion or bouncing it from a large white surface.
For portraits and interviews, a large soft source positioned relatively close to the subject is often an excellent starting point.
3. Use Distance to Control the Look
Moving your light changes more than brightness. Bring a large diffused source closer to your subject and it becomes relatively larger, often creating softer illumination.
Move it farther away and the character of the light can become harder while also decreasing its intensity on the subject.
Before immediately changing the power setting, experiment with physical distance. You may discover that moving the light 50 centimeters produces a better result than changing any camera setting.
4. Use the Environment as Your Second Light
Using one artificial light does not mean your scene contains only one source of illumination.
The environment can do much of the remaining work. A white wall can bounce light back toward the shadow side of the face. A window can provide ambient illumination. A dark wall can absorb light and increase contrast.
You can also use a practical lamp in the background to add depth without introducing another dedicated filmmaking light. A simple setup might therefore be:
Soft key light → Subject → Warm practical in the background
This remains extremely minimal while producing a much richer image.
5. Control Contrast with Negative Fill
Sometimes you do not need more light. You need less.
In a room with white walls, your key light may bounce around the environment and unintentionally illuminate the shadow side of your subject.
If the image feels too flat, place a dark surface on that side. Black fabric, a dark curtain, or another non-reflective surface can absorb some of the bounce. This technique is known as negative fill.
It allows you to increase contrast and facial shape without introducing another light.
6. Adapt the Same Setup to Different Subjects
The same one-light principle can work across very different types of filmmaking.
Interviews and Talking Heads
Use a relatively large soft source around 45 degrees from the subject. Keep the subject separated from the background and allow some natural shadow to remain on the opposite side of the face.
Cinematic Portraits
Move the source farther toward the side for stronger contrast. You do not need to illuminate the entire face evenly. Controlled shadow can create much more atmosphere.
Product Videos
Move the light around the object and pay attention to reflections, edges, and texture. With glossy products, a large diffused source can create much cleaner and more controlled highlights than a small direct LED.
The equipment can remain exactly the same. What changes is the position and character of the light.
7. Separate the Subject from the Background
One of the easiest ways to improve a one-light setup is to stop placing the subject directly against a wall. Create distance.
When possible, position your subject farther from the background and keep the key light relatively close to them.
This makes it easier to illuminate the subject without flooding the entire environment with the same amount of light. You gain more control over:
- Subject separation
- Background brightness
- Contrast
- Depth
If the background needs additional visual interest, use an existing practical lamp or another naturally illuminated area of the room rather than automatically adding another filmmaking light.

8. Control Exposure Before You Record
One major advantage of controlled lighting is that you can adjust the light instead of constantly changing the camera. If your subject is too dark relative to the background, you can:
- Increase the light output
- Move the source closer
- Change its angle
If the subject becomes too bright, do the opposite.
When shooting Apple Log or Apple Log 2, monitor important highlights and make sure the areas of the subject you need retain useful exposure information. Whenever your camera app allows it, also lock:
- Exposure
- White balance
- Focus
- Frame rate
- Shutter speed
This prevents automatic adjustments from changing the image during the shot.
9. Don't Automatically Fill Every Shadow
A darker side of the face is not necessarily a problem. It may be exactly what gives the image shape.
One of the most common mistakes when learning lighting is trying to illuminate everything evenly. Too much fill can reduce:
- Contrast
- Depth
- Facial shape
- Mood
Instead, ask whether the shadow still contains enough information for the image you want. If it does, leave it.
Cinematic lighting is often about deciding where light doesn't need to be.
10. Refine the Lighting in the Grade
A well-lit image should already have depth before you begin color grading.
Post-production should refine those relationships rather than create them from nothing.
For interviews, portraits, and other people-focused footage graded in DaVinci Resolve, Skintone Craft PowerGrade can help provide more targeted control over skin while preserving the lighting relationships created during production.
For the final finishing stage, Filmic Craft PowerGrade can be used to control characteristics such as halation, glow, softness, grain, and other film-inspired imperfections.
The important principle is simple: Lighting creates the shape. Grading refines it.
Do not rely on post-production to compensate for poor lighting decisions on set.
Final Thoughts
Learning to control one light is more valuable than owning several lights you do not fully understand. Start simple.
Change its position, height, distance, size, and angle. Watch how every adjustment affects the subject.
Then use the environment to complete the image through natural bounce, negative fill, windows, or practical lights.
Once you can consistently create strong images with a single source, more complex lighting setups become much easier to understand.
The goal is never to use as many lights as possible. It is to use exactly as much light as the image needs.



Leave a comment
All comments are moderated before being published.
This site is protected by hCaptcha and the hCaptcha Privacy Policy and Terms of Service apply.