
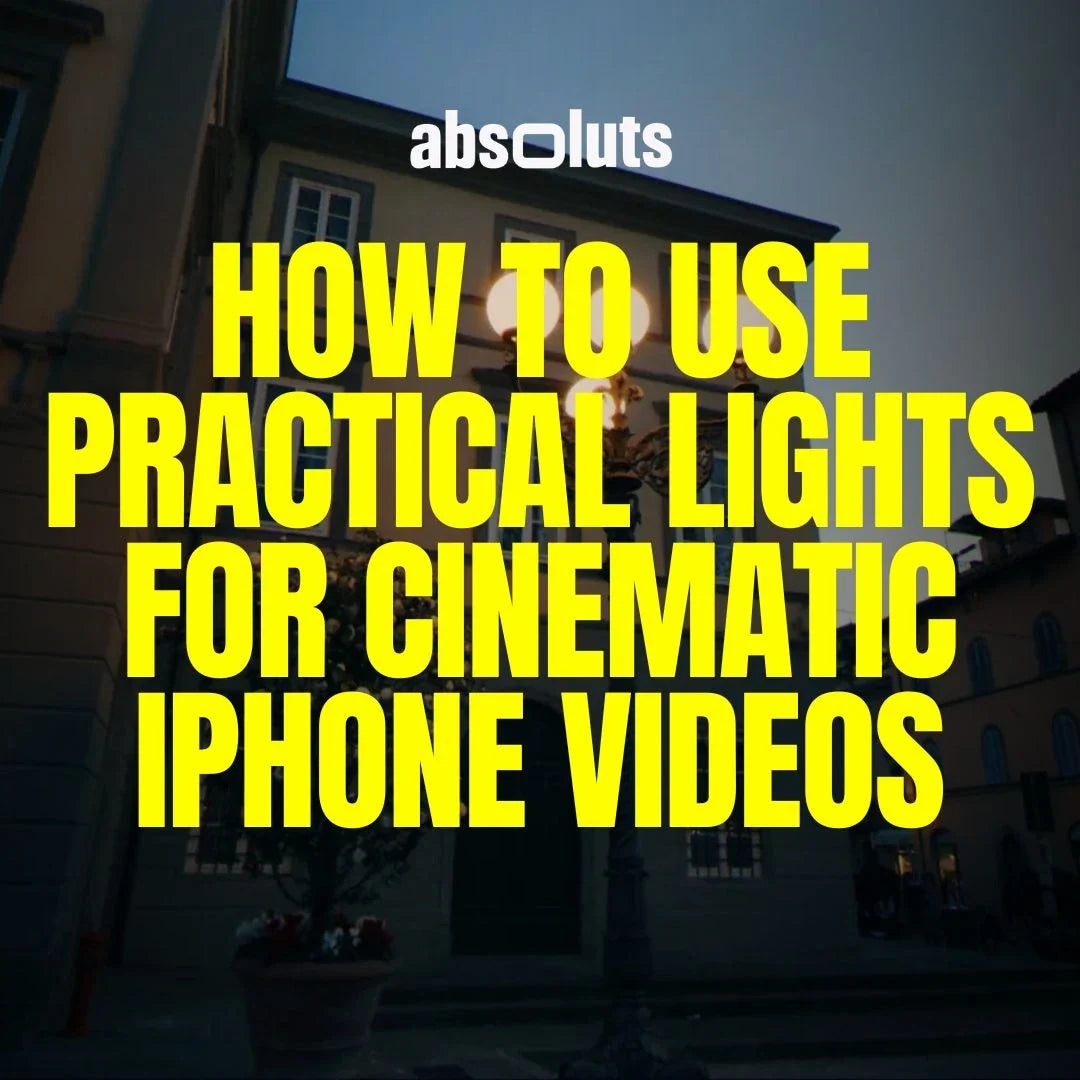
Turn lamps, screens, signs, and everyday light sources into cinematic lighting
You do not always need professional lighting equipment to create cinematic images. Sometimes the most useful lights are already inside the scene.
A table lamp beside a subject, a television illuminating a dark room, a neon sign outside a window, or even a computer screen can completely transform how an image feels.
These sources are known as practical lights.
Professional cinematographers use them not only to illuminate scenes, but also to create depth, motivate lighting, establish atmosphere, and guide the viewer's attention.
And because practical lighting relies heavily on sources that already exist in a location, it is particularly useful for iPhone filmmakers working with minimal equipment.
In this guide, you'll learn how to use practical lights intentionally to create more cinematic iPhone footage.
1. What Is a Practical Light?
A practical light is a light source that exists naturally within the world of the scene and is often visible inside the frame. Examples include:
- Table lamps
- Floor lamps
- Ceiling fixtures
- Candles
- Computer monitors
- Televisions
- LED signs
- Storefronts
- Streetlights
- Car headlights
The important distinction is that a practical light feels like it belongs in the environment.
A professional LED panel positioned outside the frame may illuminate your subject, but it is not technically a practical. A lamp visible behind your subject is.
This distinction becomes especially important when we start thinking about motivated lighting.
2. Why Practical Lights Make Images Feel Cinematic
Practical lights can perform several visual functions simultaneously. They can:
- Create depth
- Separate subjects from backgrounds
- Introduce color contrast
- Establish mood
- Guide the viewer's eye
- Explain where illumination is coming from
Imagine a subject sitting in a dark room. Without visible light sources, the scene may feel visually empty. Now place a warm table lamp behind the subject.
Suddenly the frame gains:
- A brighter background element
- Warm/cool color separation
- Greater depth
- A visual explanation for the lighting
The practical is not simply making the scene brighter. It is giving the lighting a reason to exist.
3. Understand Motivated Lighting
Motivated lighting is one of the most useful cinematography concepts to understand. The idea is simple:
The lighting on your subject should feel as though it could realistically originate from a source within the scene.
Imagine a lamp positioned to the right of your subject. The lamp itself may not actually be powerful enough to illuminate their entire face. You could place a stronger light outside the frame on the same side.
The audience sees the lamp and naturally assumes that the illumination is coming from it. The practical therefore motivates the stronger source. This principle is used constantly in professional cinematography. And you can apply the same idea even with extremely simple iPhone setups.

4. Position the Subject Relative to the Practical
Where you place the practical matters just as much as which practical you use.
Practical in Front of the Subject
This can provide relatively direct illumination. It works for certain scenes but may create a flatter image.
Practical Beside the Subject
Side positioning can create:
- Facial shape
- Shadow
- Texture
- Directionality
This is often more visually interesting.
Practical Behind the Subject
Placing a light behind or slightly beside the subject can create:
- Rim light
- Separation
- Background interest
- Greater depth
Practical Deep in the Background
The light may contribute very little to the subject's exposure but still become an important compositional element. It can help create a visual destination for the eye and make the environment feel deeper.
There is no universally correct position. The question is what role you want the practical to perform.
5. Use Practical Lights to Create Depth
Practical lights are particularly effective for creating layers inside the image. Instead of placing every important element on the same plane, build the scene using distance. For example:
Foreground element → Subject → Background practical
Or:
Foreground practical → Subject → Background environment
Multiple depths create visual separation. If you have several practical lights available, avoid placing them all at exactly the same distance from the camera.
Instead, distribute them throughout the scene. A lamp close to the camera may appear large and soft. Another deeper in the background may become a small point of light.
This difference in scale reinforces the perception of three-dimensional space.

6. Use Color Temperature to Create Separation
Practical lights often have different color temperatures from the ambient environment. This can be extremely useful.
Imagine an interior during blue hour. The window provides cool blue ambient light while a tungsten lamp inside the room creates warm orange illumination. Instead of correcting everything until it becomes neutral, you can preserve the difference.
You now have:
Cool environment + Warm practical
This creates natural color contrast. The same principle can work in reverse. A cooler source can separate a subject from a warmer environment.
Color differences can help establish:
- Depth
- Mood
- Time of day
- Visual hierarchy
Mixed color temperatures are therefore not automatically a problem. Random color temperatures are.
7. Avoid Random RGB Lighting
Colored LEDs have become extremely accessible. That does not mean every cinematic scene needs red and blue lights. A common mistake is placing multiple RGB sources around a room simply because they look visually dramatic.
The result can quickly feel artificial. Instead, ask:
Why is this light this color?
Perhaps:
- Blue light comes from a television.
- Red light comes from a sign outside.
- Warm light comes from a lamp.
- Cool light enters through a window.
When color has a believable source, the image usually feels more cohesive. Cinematic lighting is not about maximizing color. It is about controlling it.
8. Expose Bright Practical Lights Carefully
Practical lights create an exposure challenge. A lamp shade, LED sign, or television may be dramatically brighter than your subject.
If you expose only for the face, the practical may become completely clipped. If you expose only for the practical, the subject may become too dark. When shooting Apple Log or Apple Log 2, use exposure monitoring tools such as:
- Waveforms
- Zebras
- False color, when available
Try to preserve important information in both the subject and the practical. However, do not become obsessed with preserving every tiny highlight. A visible light bulb may naturally contain extremely bright areas. The important question is whether clipping damages the visual information you actually need.
9. Control the Practical Itself
Sometimes the problem is not your camera exposure. The practical is simply too bright. If possible:
- Dim the lamp
- Reduce screen brightness
- Move the source farther away
- Change the bulb
- Add diffusion
- Redirect the light
Reducing the intensity of a practical can dramatically improve the relationship between the source and the subject. This is often better than underexposing the entire image simply to preserve one bright lamp.
10. Use Screens as Practical Lights
Screens can create surprisingly effective cinematic illumination. Sources include:
- Televisions
- Computer monitors
- Tablets
- Smartphones
They work particularly well for:
- Technology content
- Night scenes
- Close-ups
- Portraits
- Narrative sequences
A monitor can produce a soft, cool illumination on a face. A television can create changing colors that suggest something happening outside the frame. A smartphone screen can subtly illuminate a subject in an otherwise dark environment.
But screens require care. Watch for:
- Flicker
- Excessive brightness
- Strong color casts
- Unnatural exposure
If a screen appears in the frame, adjust its brightness so it retains visible detail whenever possible.
11. Practical Lights Are Useful During the Day Too
Practical lighting is not limited to night scenes. Imagine filming an interview inside a room during daylight. A window provides most of the illumination. There is also a lamp behind the subject.
Technically, you may not need the lamp for exposure. But turning it on can create:
- A warm background point
- Additional depth
- Color contrast
- Stronger visual balance
The practical becomes part of the composition rather than the primary illumination source. This technique is extremely common in interviews and documentary filmmaking.
12. Build Warm and Cool Contrast
One of the most effective practical-lighting techniques is deliberately combining warm and cool sources. For example:
- Warm lamp + cool window
- Warm streetlight + blue-hour sky
- Cool screen + warm room
- Warm interior + cool exterior
The goal is not necessarily extreme orange-and-teal grading. The contrast can be subtle. Different color temperatures simply help separate visual planes. A warm subject against a cooler background can immediately feel more dimensional.

13. Lock Your White Balance
Practical-light scenes frequently contain mixed lighting. Automatic white balance may constantly react as:
- A lamp enters the frame
- A television changes color
- The camera moves toward a window
- A colored sign becomes dominant
These shifts can make footage difficult to match in post. Instead, choose a white balance intentionally and lock it. You do not necessarily need to neutralize every source.
If the lamp is supposed to look warm, let it look warm. If the exterior should feel cool, preserve that contrast. White balance should establish a stable reference point rather than eliminate the lighting design.
14. Color Grading Practical-Light Footage
Practical lighting often creates complex images with multiple colors, bright highlights, and deep shadows. The grading process should refine these relationships rather than flatten them.
For urban, commercial, or contemporary scenes with strong practical sources, iRED Mode LUT can provide a more pronounced cinematic direction while working directly with Apple Log footage.
For scenes built around cooler ambient environments and contrasting warm practicals, CineCold LUT can support a colder atmospheric palette.
When mixed lighting affects skin and more targeted control is required in DaVinci Resolve, Skintone Craft PowerGrade can help refine skin independently from the surrounding color environment.
The objective should not be to remove all color variation. Those differences are often exactly what make practical-light scenes visually interesting.
15. Don't Add a Practical Without a Reason
One lamp can improve a frame. Five random lamps may destroy it. Before adding another source, ask what it contributes. Does it:
- Separate the subject?
- Create depth?
- Motivate another light?
- Balance the composition?
- Introduce meaningful color contrast?
If the answer is no, you may not need it. Good lighting often comes from subtraction.
Common Practical Lighting Mistakes
Avoid these common problems:
Practical Too Bright
If a lamp dominates the entire frame, reduce its intensity before changing the camera exposure.
Subject Too Far From the Source
If you expect the practical to illuminate the subject, distance matters enormously.
Random Color Temperatures
Mixed lighting can look cinematic when intentional and chaotic when uncontrolled.
Too Many RGB Lights
Color should serve the scene rather than become the scene.
Automatic White Balance
Changing practical sources can cause visible color shifts during recording.
Flat Placement
Avoid positioning every light and subject at the same distance from the camera.
Unmotivated Lighting
If the subject is brightly illuminated from one direction while every visible source suggests another, the scene may feel visually inconsistent.
Final Thoughts
Practical lights are among the most accessible cinematography tools available to iPhone filmmakers. You do not need a truck full of lighting equipment to begin shaping a scene.
Start with what already exists. A lamp. A window. A television. A storefront. A streetlight.
Then ask what that source can contribute to the image. Use practicals to create depth, motivate illumination, introduce color contrast, and direct attention.
Most importantly, make every source intentional. The objective is not to fill the frame with lights. It is to make the lighting feel like it naturally belongs to the world you are filming.
Once you understand that principle, everyday light sources become part of your cinematography toolkit.


Leave a comment
All comments are moderated before being published.
This site is protected by hCaptcha and the hCaptcha Privacy Policy and Terms of Service apply.