
Lighting, composition, movement, and color techniques that make food look better on camera
Food is one of the most visual subjects you can film, but making it look good on camera requires more than pointing your iPhone at a plate.
Light needs to reveal texture. The camera angle needs to show the food at its best. Movement should emphasize preparation and detail. And color grading needs to make the image feel cinematic without making the food look unnatural.
Whether you are creating restaurant content, a commercial, a Reel, or a personal project, these techniques will help you create better food videos with your iPhone.
1. Make the Food Look Good Before You Film It
The camera cannot fix food that does not look appealing in front of it. Before recording, inspect the plate carefully. Look for:
- Fingerprints and spills
- Uneven sauces
- Distracting crumbs
- Wilted ingredients
- Unbalanced placement
- Unnecessary objects around the plate
Small adjustments can make a major difference in close-ups. Also think about freshness. Ice melts, sauces move, steam disappears, and certain ingredients change appearance quickly. Prepare the camera and lighting before the final dish arrives whenever possible.
2. Use Directional Light to Reveal Texture
Flat frontal lighting can make food look two-dimensional. Instead, try positioning your main source beside or slightly behind the food.
Side light works particularly well for revealing texture in bread, meat, pasta, vegetables, and desserts.
Backlight can be extremely effective with liquids, steam, translucent ingredients, sauces, and drinks.
A window can already provide an excellent large source. If the opposite side becomes too dark, use a white surface to bounce a small amount of light back toward the food. The goal is not to eliminate every shadow. Shadows help reveal shape.

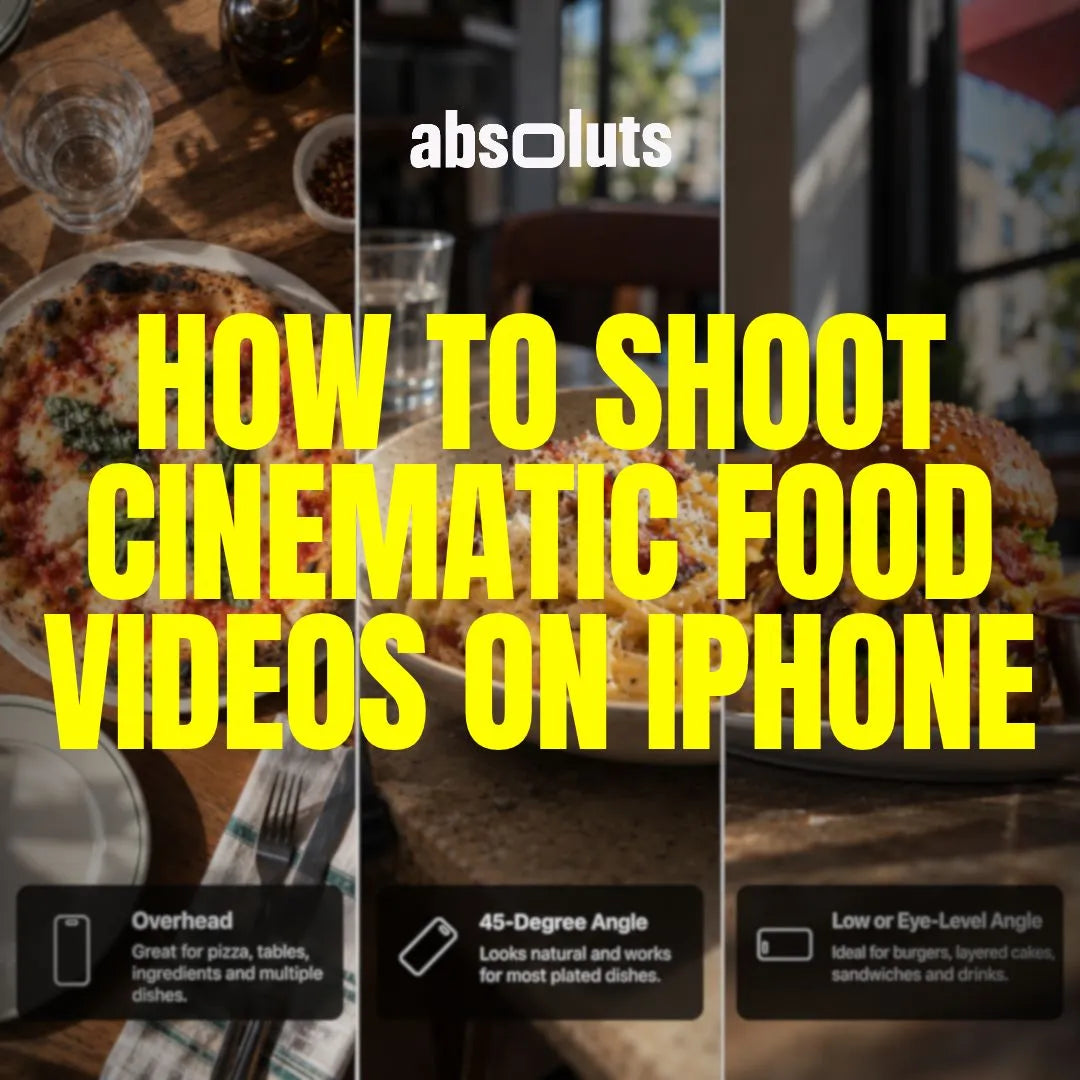
3. Choose the Camera Angle for the Food
There is no single best angle for food filmmaking. The right perspective depends on what makes the subject visually interesting.
Overhead
Works well for:
- Pizza
- Tables
- Ingredients
- Multiple dishes
- Preparation sequences
It emphasizes shapes and arrangement.
45-Degree Angle
This closely resembles how we naturally see food while sitting at a table and works well for many plated dishes.
Low or Eye-Level Angle
Useful when height matters. Think about:
- Burgers
- Layered cakes
- Sandwiches
- Drinks
A burger filmed entirely from above loses much of what makes it visually interesting. Choose the angle that best communicates the structure of the food.

4. Capture Action, Not Just the Finished Plate
A beautiful hero shot is useful, but food becomes much more engaging when something is happening. Capture moments such as:
- Cutting
- Pouring
- Mixing
- Plating
- Sprinkling ingredients
- Breaking bread
- Adding sauce
- Steam rising
- Hands preparing the dish
These actions introduce movement while also explaining how the food was created. Try recording slightly before the action begins and continue afterward. This gives you enough footage to choose the best moment during editing. If an action cannot easily be repeated, prepare your framing and exposure before it happens.
5. Build a Simple Food Sequence
You do not need dozens of shots. A simple structure can be enough:
Environment → Preparation → Detail → Action → Hero
Start by establishing the location. Show part of the preparation. Move closer to ingredients or textures. Capture one strong action. Finish with the completed dish.
This structure works for everything from a short restaurant Reel to a longer branded food video. The important thing is that each shot adds new information instead of showing the same plate repeatedly from slightly different angles.
6. Keep Camera Movement Controlled
Food videos often benefit from subtle movement. Try a slow:
- Push-in
- Lateral slide
- Reveal
- Tracking movement
But avoid moving the camera simply because the shot feels too static. A beautifully composed locked shot of sauce being poured can be more effective than orbiting around the plate while the action happens.
Movement should reveal something. It might expose another ingredient, emphasize layers in a dish, or gradually introduce the final presentation. If movement adds nothing, keep the camera still.
7. Protect Food Colors When Shooting Apple Log
Color accuracy matters enormously in food filmmaking. A small white-balance error can make:
- Greens look yellow
- Meat look unnatural
- Bread lose warmth
- White plates become blue
- Skin tones become inconsistent
When shooting Apple Log or Apple Log 2, lock your white balance whenever the lighting remains consistent. Also monitor exposure carefully.
White plates, glassware, metal cutlery, and reflective sauces can create strong highlights. Preserve important texture without unnecessarily underexposing the food itself. The objective is to capture a clean, consistent starting point for grading.
8. Grade for Appetite, Not Maximum Stylization
The purpose of a food grade is not simply to make the footage look cinematic. The food still needs to look desirable.
Start by correcting exposure and white balance. Then pay attention to the colors viewers naturally associate with freshness and flavor. Reds, greens, warm bread tones, creams, and skin should remain believable.
For lifestyle-oriented Apple Log footage, the Fujifilm 3513 Inspired LUT can provide the Apple Log to Rec.709 transformation together with a film-inspired creative direction. Adjust the result to the individual scene rather than treating any LUT as a one-click final grade.
If people such as chefs, bartenders, or customers are an important part of the video, Skintone Craft PowerGrade can provide additional skin-tone control in DaVinci Resolve. The food should remain the hero.
If the grade looks impressive but makes the dish less appetizing, it is working against the video.
Final Thoughts
Great food filmmaking is about making the viewer almost feel the texture, temperature, and flavor of what they are seeing. Start with food that looks good before you record.
Use directional light to reveal texture, choose an angle that complements the shape of the dish, and capture preparation and interaction instead of filming only the finished plate.
Keep camera movement controlled and maintain consistent exposure and white balance throughout the sequence. Then grade with restraint. The goal is not simply to make food look cinematic. It is to make it look irresistible.



Leave a comment
All comments are moderated before being published.
This site is protected by hCaptcha and the hCaptcha Privacy Policy and Terms of Service apply.