DaVinci Resolve Workflow for iPhone Filmmakers
How to unlock cinematic color from your iPhone footage in DaVinci Resolve
Why iPhone Filmmakers Should Use DaVinci Resolve
Most people shoot on iPhone and edit on mobile apps like CapCut or LumaFusion, but if you're serious about color and want your iPhone videos to look like film, DaVinci Resolve is where the magic happens. It’s free, powerful, and used by Hollywood.
But how do you take iPhone footage, especially in Apple Log, and grade it like a pro? That’s where this guide comes in.
1. Prepping Your iPhone Footage for DaVinci
Before importing, make sure your iPhone video meets these standards:
- Shot in Apple ProRes (Apple Log) using the Blackmagic Camera app or Filmic Pro
- Transferred via AirDrop or cabled transfer to preserve quality (avoid WhatsApp/Instagram compression)
- Use .MOV files instead of .MP4 whenever possible

2. Setting Up a Color-Friendly Project in DaVinci Resolve
To get the most out of your footage, configure your timeline color settings properly.
Navigate to:
Project Settings → Color Management → Color Science: DaVinci YRGB
We recommend the following settings for Apple Log workflows:
- Timeline Color Space: Davinci Wide Gamut / Intermediate
- Output Color Space: Rec.709 Gamma 2.4 (or 2.2 for web content)
Now your project is set to interpret iPhone footage correctly, retaining the full dynamic range and allowing precise grading.
3. Apple Log Conversion Options: CST vs. LUT
Once your footage is in the timeline, you have two main paths for converting and grading Apple Log:
Option 1 – Node Tree With CST In/Out
Create a custom PowerGrade that includes:
- Node 1: CST In – Converts Apple Log to DaVinci Intermediate ( Input Color Space: Rec.2020, Input Gamma: Apple Log, Output Color Space: DaVinci Wide Gamut, Output Gamma: DaVinci Intermediate )
- Node 2: Exposure – Adjusts image brightness
- Node 3: Contrast – Adds depth and separation
- Node 4: Balance – Fixes white balance/tint
- Node 5: Saturation – Controls color intensity
- Node 6: CST Out – Converts to Rec.709 for viewing/export ( Input Color Space: DaVinci Wide Gamut, Input Gamma: DaVinci Intermediate, Output Color Space: Rec.709, Output Gamma: Gamma 2.4 or 2.2 for web content )
This node structure becomes your go-to PowerGrade for any Apple Log footage. Save it in your PowerGrade folder for future uses.

Option 2 – LUT-Based Conversion
Create the same node stack, but omit the CST nodes and instead apply a conversion + creative LUT in the final node. This is a faster, simpler method that still gives you great results.
Try our popular conversion + creative LUTs:
You can save this nodetree in your PowerGrade folder as well for future uses.

4. Finishing the Look With PowerGrades
To complete your grade and push your footage into a truly cinematic space, you can apply one of our specialized PowerGrades at the end of your node tree:
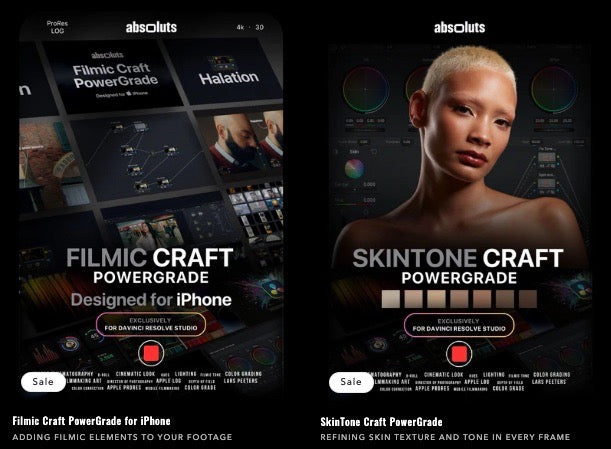
- Filmic Craft PowerGrade: Adds film halation, grain, Glow, and softening for a rich, organic look.
- Skintone Craft PowerGrade: Designed to finesse and perfect skintones while preserving a natural aesthetic.
Both are drag-and-drop fully customizable PowerGrades and should be used as final nodes, after LUT or CST output.
5. Export Settings for Web and Social Media
Once you’ve finished grading, it’s time to export. Use these settings for high-quality delivery:
- Format: MP4 (H.265) or QuickTime (H.264)
- Resolution: 3840x2160 (4K) or 1920x1080 (HD)
- Color Space tag and gamma tag: Rec.709 - Rec709A
- Data Levels: Auto
Always test your exports on YouTube, Instagram, or your delivery platform to verify color accuracy.
Get the Look
Ready to streamline your workflow and achieve a stunning cinematic look with minimal effort?
🎞️ Try our iCine Pro Bundle: a pack of premium LUTs, crafted specifically for iPhone Apple Log footage.
Whether you're starting out or looking to speed up your grading process, this bundle gives you a reliable cinematic baseline you can build on.